
Free written scope consultation - allowances, timeline, and change-order rules on paper before a single trade is scheduled
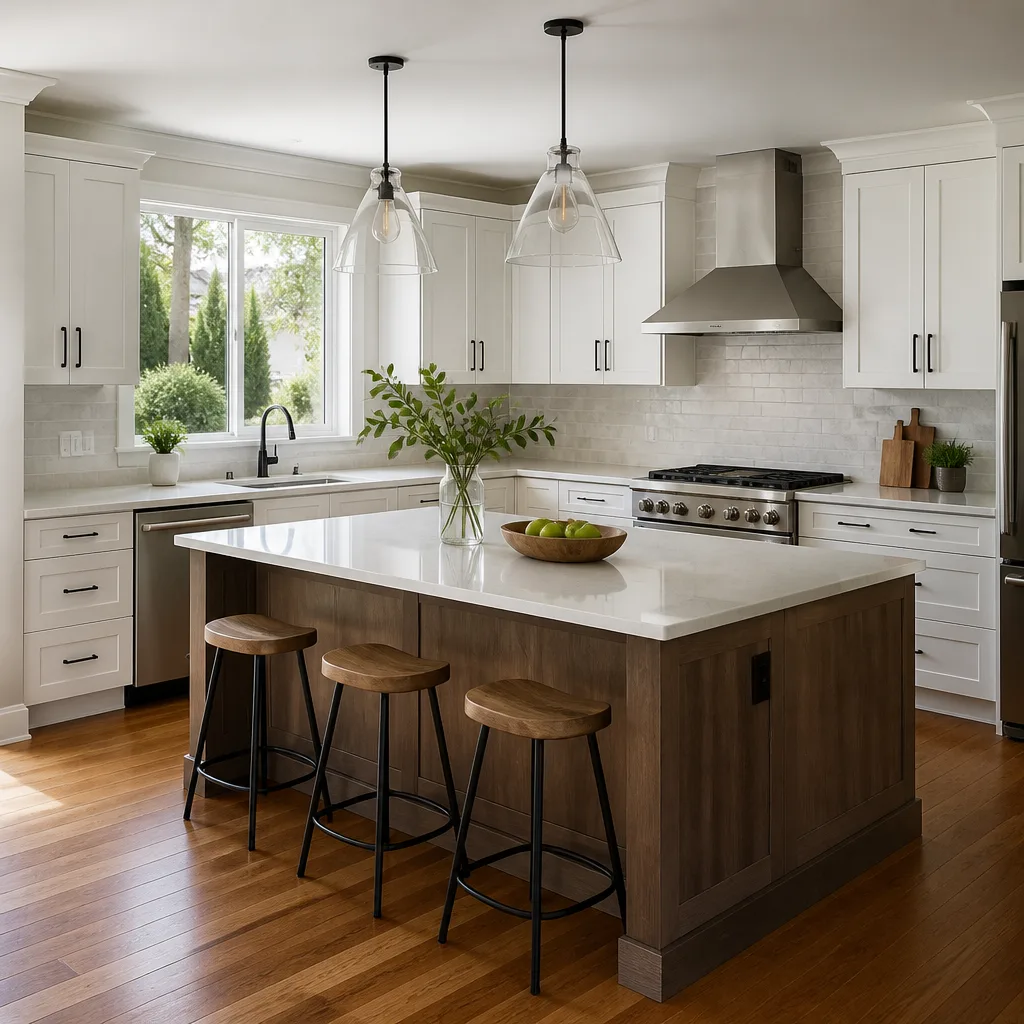
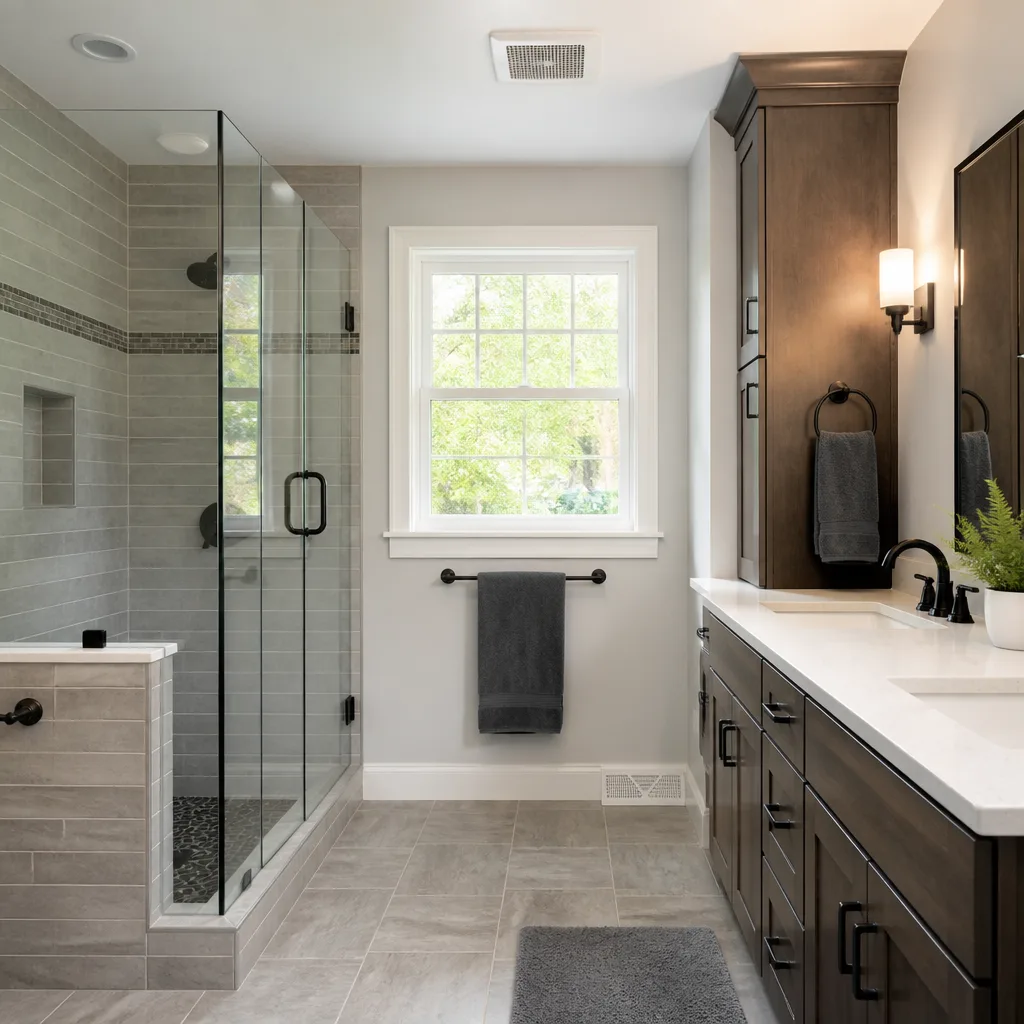
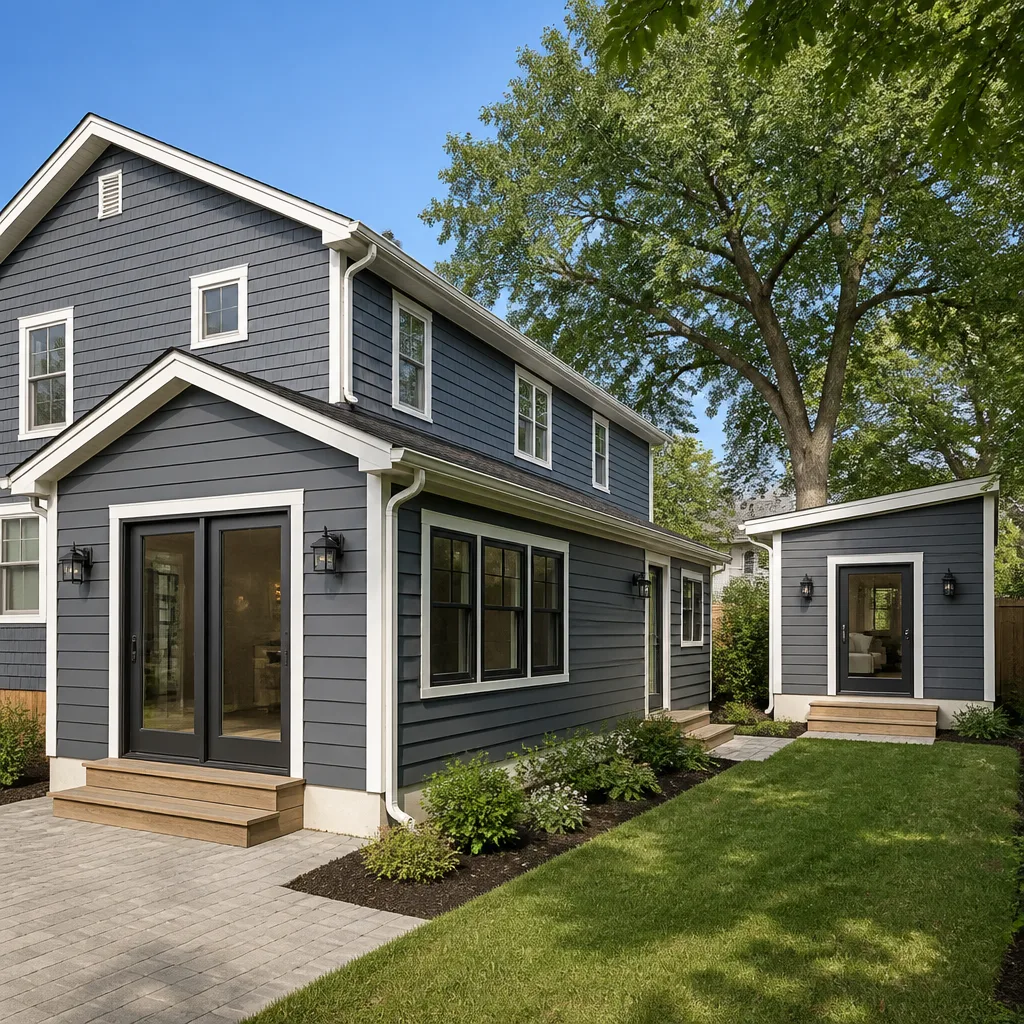
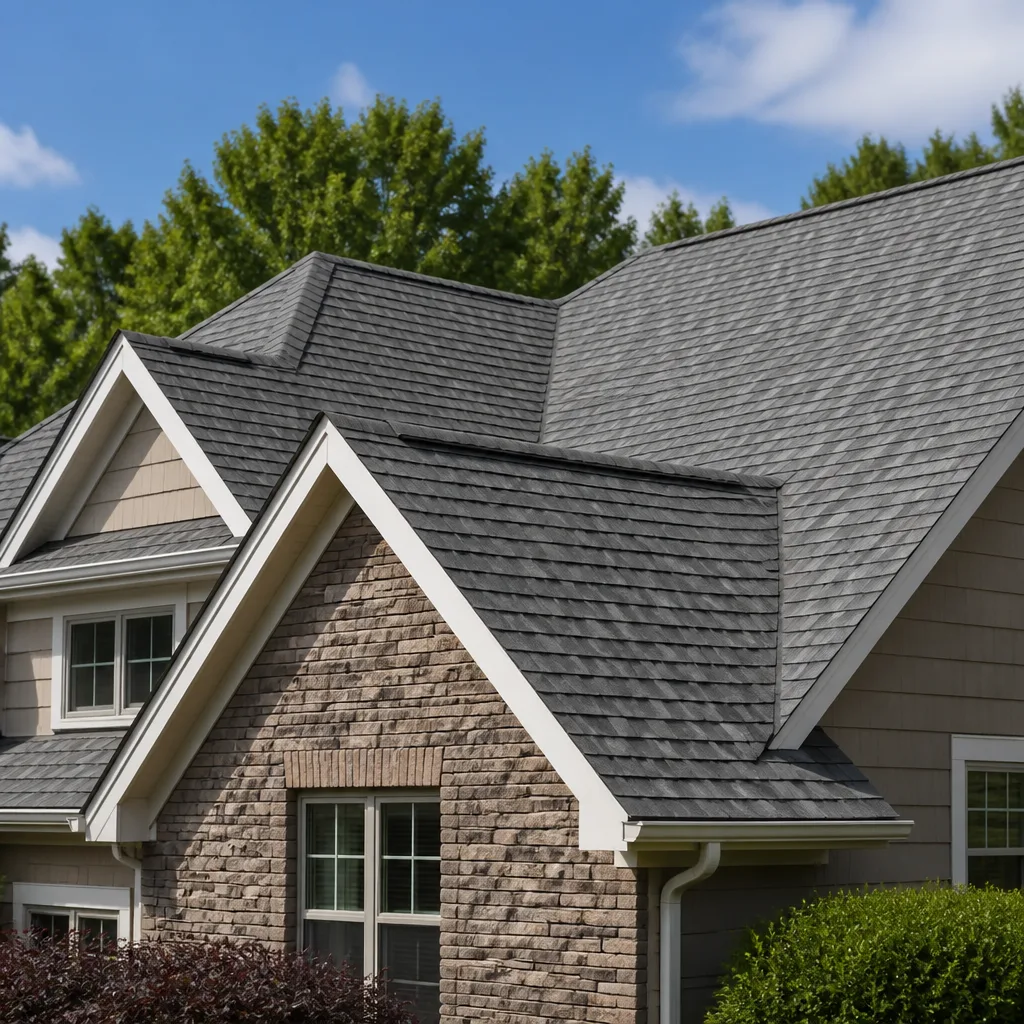
 Before
 After
After Before
 After
After Before
 After
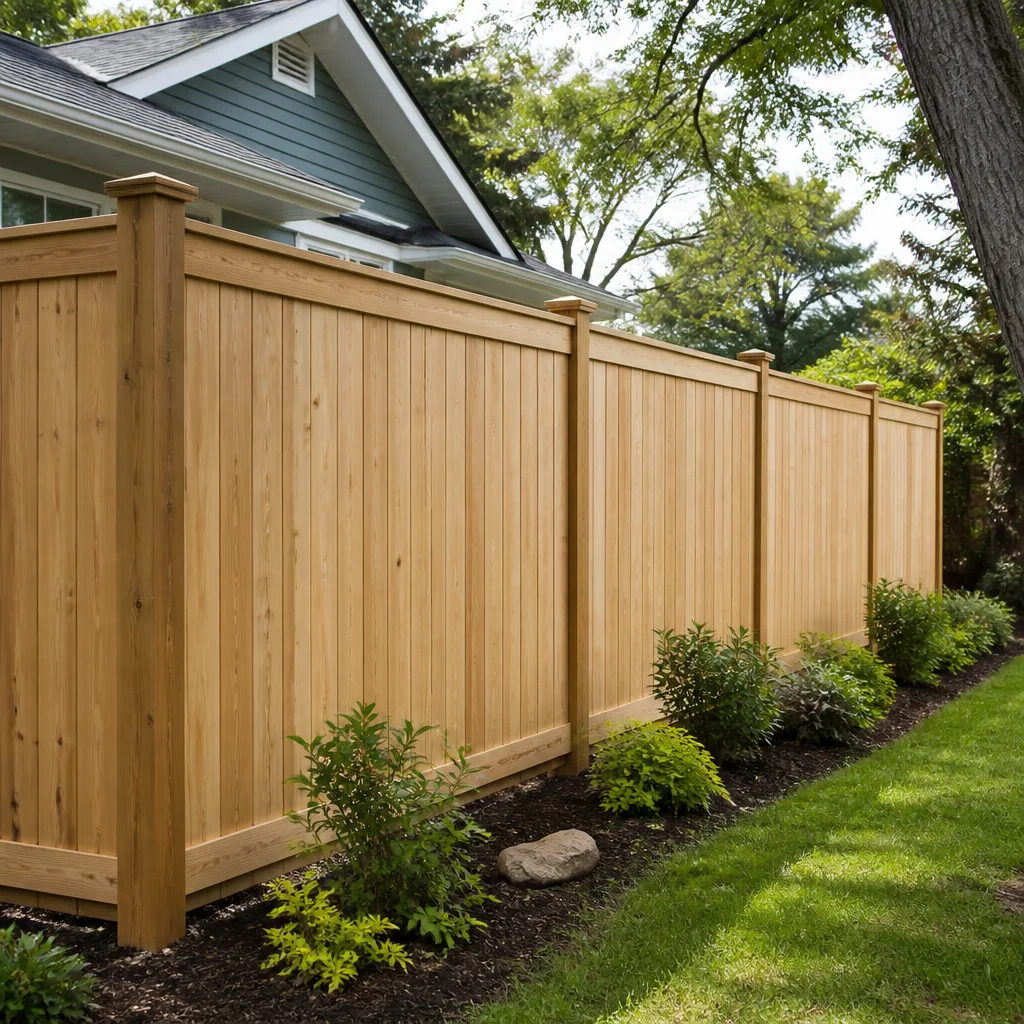
AfterViewLux Fence Installation: The Sunnyvale Owner’s Guide
ViewLux fence installation in Sunnyvale typically runs $3,500-$9,000 for a complete vinyl system, with most residential jobs landing in the $4,500-$6,500 range depending on linear footage and terrain. We stock ViewLux-compatible posts, rails, and hardware for same-day repair or full replacement across the 94086, 94087, and 94089 zip codes. Most Sunnyvale owners discover their ViewLux fence is failing when the bottom rail bows after winter rains saturate the Lakewood Village clay soil, or when UV-hardened pickets start snapping at the mounting tabs after seven to ten years of South Bay sun exposure.
Which ViewLux Models This Applies To
ViewLux vinyl fencing breaks into three residential series: the Estate line (6-foot privacy with reinforced bottom rail), the Harbor line (4-foot scalloped picket), and the Premier line (semi-private with staggered board spacing). The part numbers are stamped on the inside face of the end posts, usually a 10-digit code starting with VLX followed by the series abbreviation. Estate rails measure 2 inches by 5.5 inches and use a snap-lock bracket system; Harbor and Premier use a 1.5-inch by 3.5-inch rail with through-bolt construction, so the brackets are not interchangeable between series.
We carry OEM ViewLux rails and posts, plus a vetted aftermarket equivalent from Freedom Outdoor Living for the Estate series that matches the wall thickness (0.065 inch) and UV stabilizer package. The aftermarket rail costs roughly 15% less and carries the same 20-year residential warranty, but we only spec it when the color match passes a daylight comparison against the existing fence. For Harbor and Premier lines, we stick with OEM; the bracket geometry is proprietary and the aftermarket versions we’ve tested show stress cracking at the bolt holes after three Sunnyvale summers.
Signs Your ViewLux Fence Installation Is Failing
- Bottom rail bows or detaches from posts. The rail fills with water through microscopic seam gaps, then the Lakewood Village clay swells during winter saturation and pushes upward. In summer the soil contracts, leaving the rail unsupported mid-span. We see this most on fences installed before 2018, when ViewLux changed the rail wall thickness.
- Pickets snap at mounting tabs with light pressure. The titanium dioxide UV stabilizer depletes after roughly eight years of direct South Bay exposure, and the vinyl becomes brittle. The break is always at the stress concentrator, the rectangular cutout where the tab engages the rail.
- Gate drags or latch misses the strike plate. The post shifts in its concrete footing, usually because the original installer used a 6-inch diameter hole in expansive clay rather than the 10-inch minimum ViewLux specifies. The gate frame itself is rarely the problem; it’s the post geometry that changed.
- Post caps crack or blow off in wind. ViewLux caps are friction-fit with an internal rib. After thermal cycling, the rib relaxes and the cap loosens. A missing cap allows water into the hollow post, which accelerates footing degradation through freeze-thaw if you’re up in the Sunnyvale foothills near Rancho San Antonio.
- Rail brackets pull through the post wall. This happens when the installer used standard wood screws instead of the ViewLux-specified #12 self-tapping stainless fastener. The thinner screw strips the post wall under wind load, and the bracket tears free with a triangular chunk of vinyl attached.
 Before
 After
AfterReplacement Cost & What’s Included
| Scope | Price Range | What’s Included |
|---|---|---|
| Single rail replacement (Estate series) | $280-$450 | OEM rail, brackets, fasteners, 1 hour labor |
| Post replacement with footing | $550-$850 | Post, concrete, excavation, realignment of attached rails |
| Picket replacement (up to 10) | $180-$320 | Matched pickets, tabs, installation |
| Gate rebuild on existing posts | $400-$700 | Frame, hardware, latch, alignment |
| Full fence replacement (typical 150 ft.) | $4,500-$6,500 | Demolition, disposal, new posts/rails/pickets, hardware, cleanup |
The range moves with three factors: access (narrow side yards in older Sunnyvale neighborhoods like Birdland add labor), slope correction (grades over 4% require stepped installation or longer posts), and whether we hit irrigation or conduit in the post holes. Every quote is a flat written price with material costs, labor hours, and any subcontractor scope listed separately, so you see where each dollar goes before anyone picks up a tool. Under Clause 1 of the Haven Standard, that written price is fixed; no change proceeds without a signed change order, which is how we’ve kept projects within a few percent of the agreed number across 4,000-plus jobs since 2007.
The 365-Day Done Right Promise covers the installation and materials. If a rail bows or a post shifts in that first year, we make it right. The documented photo record from your visit, included as standard, shows the footing depth and bracket torque spec we achieved, so there’s no dispute about what was done.
DIY or Call Us?
There’s a short list of checks a Sunnyvale owner can safely make: confirm the series from the post stamp, measure the rail span between posts, and look for the obvious, like a missing cap or a loose bracket screw. Do not attempt to reset a leaning post yourself; the concrete footing weighs 80-plus pounds and the leverage required to extract it risks back injury or a snapped post that turns a $600 repair into a full section replacement.
What goes wrong in DIY: using a standard wood bit instead of a masonry bit for the post screws, which strips the hole and voids the bracket warranty; mixing Estate and Harbor brackets because the packaging looks similar; and underestimating how much the existing fence has drifted out of square, so the new rail won’t seat without forcing it and cracking the tab. We’ve also pulled out homeowner repairs where silicone caulk was used to “seal” a bowed rail, which traps water and accelerates the failure.
Measure it twice, write it down, then build it. If you’re not sure which series you have or whether the footing is salvageable, call us at (650) 405-3637 and we’ll scope it on a free estimate visit.
FAQs
Expect 20-25 years for the structural components in the South Bay climate, with picket and rail UV degradation becoming noticeable after 8-12 years depending on southern exposure. Fences within a mile of the bay get less thermal swing and often outlast foothill installations by three to five years. Call (650) 405-3637 for an exact quote on replacement or repair - estimates are free.
Most failures are component-level: a single rail, a post, or a run of pickets. We replace what’s failed and match to the existing fence if the color hasn’t shifted too far. Full replacement makes sense when multiple posts are leaning, the UV fading is uneven across sections, or the original installation used pre-2018 thin-wall components throughout. Call (650) 405-3637 for a line-item assessment - estimates are free.
A single-component repair, rail or post, typically takes 2-3 hours on site. A full 150-foot residential replacement runs 2-3 days: day one for demolition and layout, day two for post setting and concrete cure, day three for rail and picket hang with final hardware adjustment. We pull permits when required by Sunnyvale building code, which adds 3-5 business days to the start date but not to the on-site labor. Call (650) 405-3637 to schedule - estimates are free.
We carry Estate and Harbor series rails, posts, and brackets in white and tan, the two most common Sunnyvale colors. For clay or gray, or for Premier series components, we order from the ViewLux West Coast distributor in San Jose with next-day delivery. We don’t start the repair until the part is in hand, so there’s no downtime waiting on a second shipment. Call (650) 405-3637 to confirm color and series availability - estimates are free.
Written by Grant Rowan, Owner, Rowan Construction Group Sunnyvale at Rowan Construction Group Sunnyvale, serving Sunnyvale and nearby areas.